Setting up a digital music product for sale

Jonni DWX
Last Update 5 years ago
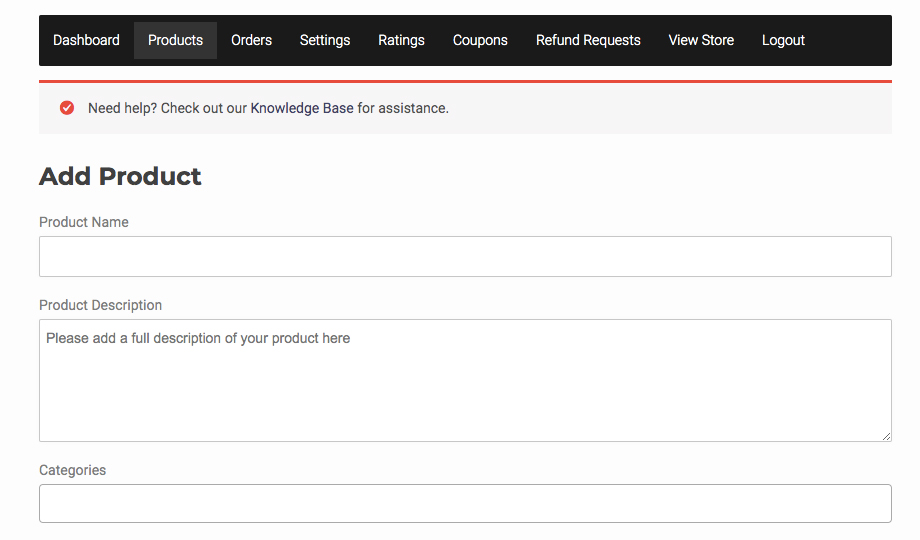
On your Artist Dashboard click Products. Then click Add Product.
Product Description is where you add the track listing and any other information you'd like, e.g. the year of release, record label etc.
In the Categories dropdown menu click Music and Digital.
Featured Image will be the front cover of your album/ep.
Click Set Featured Image. Upload the album/ep cover.
Once this is uploaded it will now be in your Media Library, click Select Product Feature Image. You can use this same image on another product such as CD or Vinyl too.
Gallery is where you can add the back cover or inside sleeve etc. if you wish. Click Add Product Gallery Images and follow the instructions as per Featured Image.

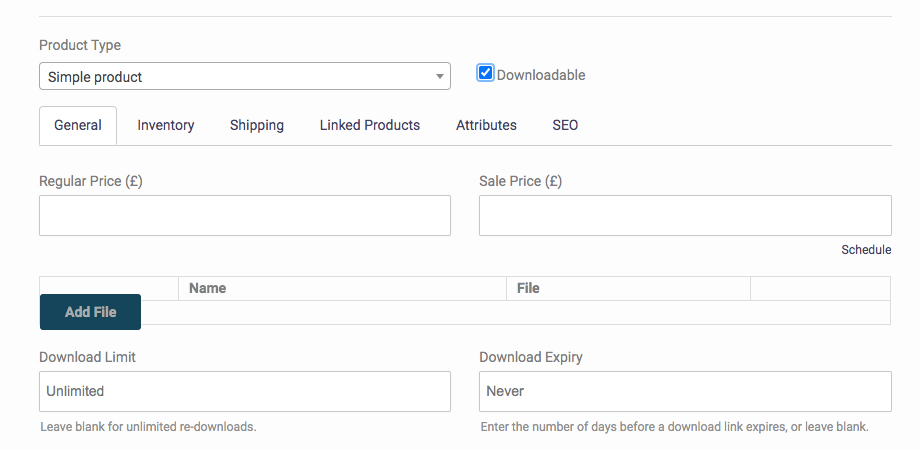
Music will always be Simple Product (variable is for items that come with options such as size, colour etc.)
You will need to upload each track of your album/ep individually.
Click Add File followed by Choose File.
A new window will appear, click Upload Files and choose the first track on your album/ep.
Again this will upload to your Media Library, click Insert File URL.
Repeat this process until your album/ep is fully loaded.
Download Limit is the number of times the customer can download your album/ep. We recommend 3 downloads as normal.
Download Expiry is the period from purchase the customer has to download, we recommend 28 days as normal.
Finally click Add Product and you're done!
In SEO, as always, you can use keywords in the description to optimise search engine results.