Setting up a merch/non music product for sale (items that need options)
This includes any items that need selectable options such as size, colour etc.

Jonni DWX
Last Update 5 years ago
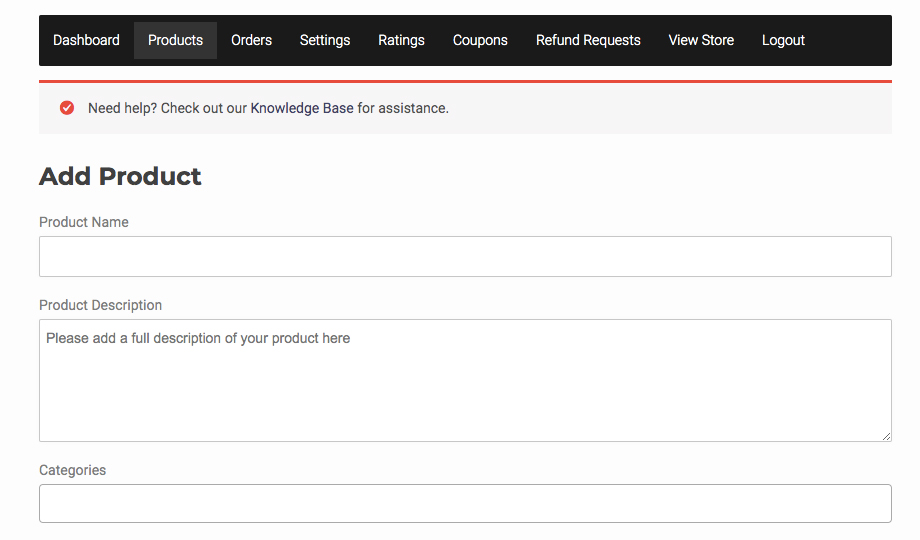
Product Name (e.g. 2019 European Tour T-Shirt)
Product Description is where you describe the product (e.g. front and back printed with all tour dates).
In the Categories dropdown menu click on the relevant category (e.g. T-Shirts, Hoodies, Accessories etc.).
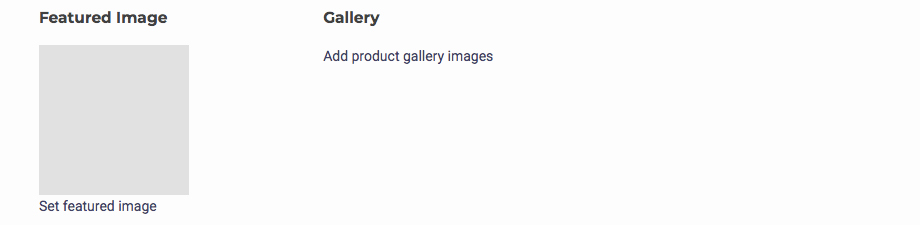
Featured Image would be the front of a t-shirt or main photo of the accessory.
Click Set Featured Image.
Upload the image.
Once this is uploaded it will now be in your Media Library, click Select Product Feature Image.
Gallery Image would be the back of a t-shirt or the accessory from a different angle.
Click Add Product Gallery Images and follow the instructions as per Featured Image.
Next, select the Product Type from the drop-down menu. If the product is available in various sizes, colours or other option, then click Variable Product. If only one size/colour available, then click Simple Product.
For A Simple Product
Use this option if you are selling items that are only available in one colour and size.
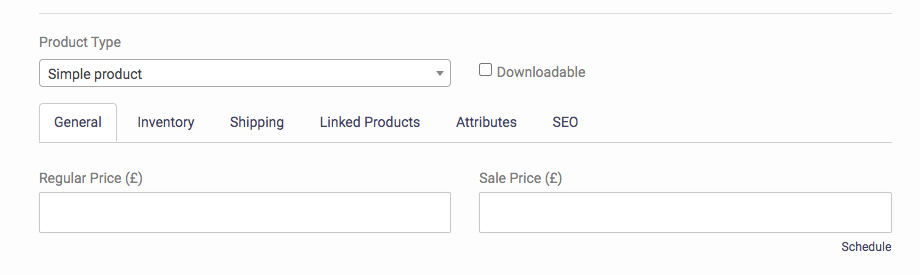
General
This is where you enter the Regular Price you wish to sell your product for and, optionally, a Sale Price. You can schedule the sale to start and finish automatically by clicking the 'Schedule' link beneath the Sale Price box and entering Start and Finish dates.
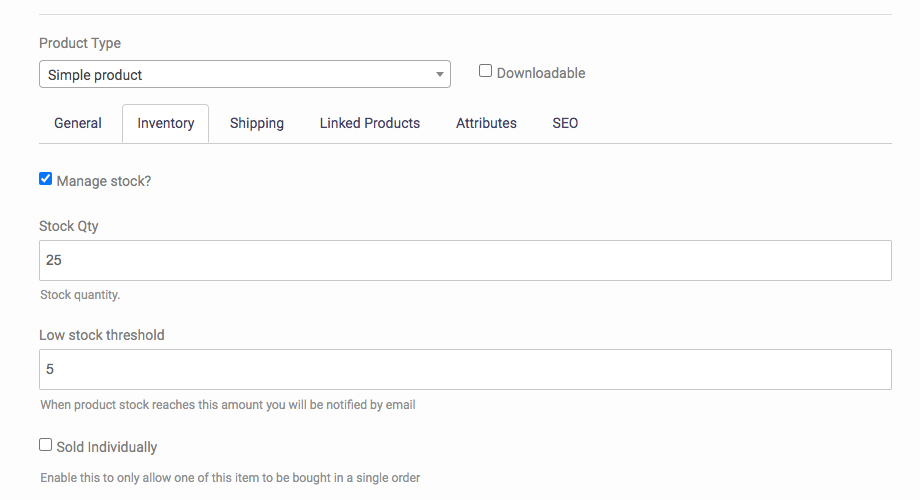
Inventory
You can use this section for stock control of your product. By default, you can simply select a Stock Status of "In Stock" or "Out Of Stock".
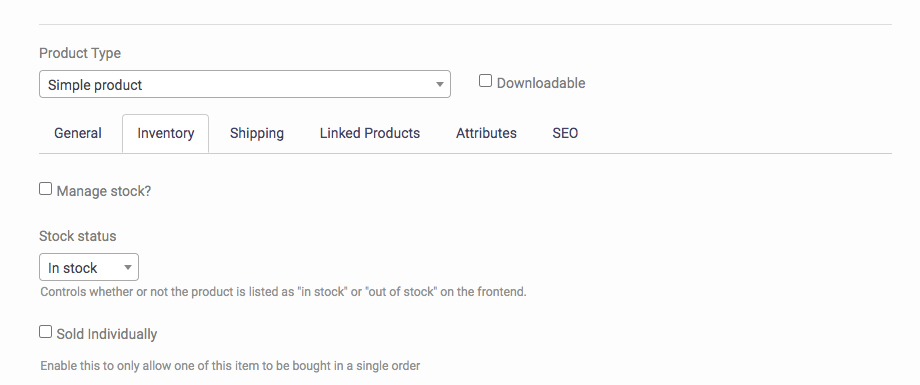
If you click the "Manage Stock?" tick box, you can enter the quantity you have available so that your shop will automatically show your item as Out Of Stock when that quantity has been sold. You can also set an alert up to be notified when stocks are running low. In the example below, you have a total quantity of 25 and will receive an email when there are only 5 left available to purchase.
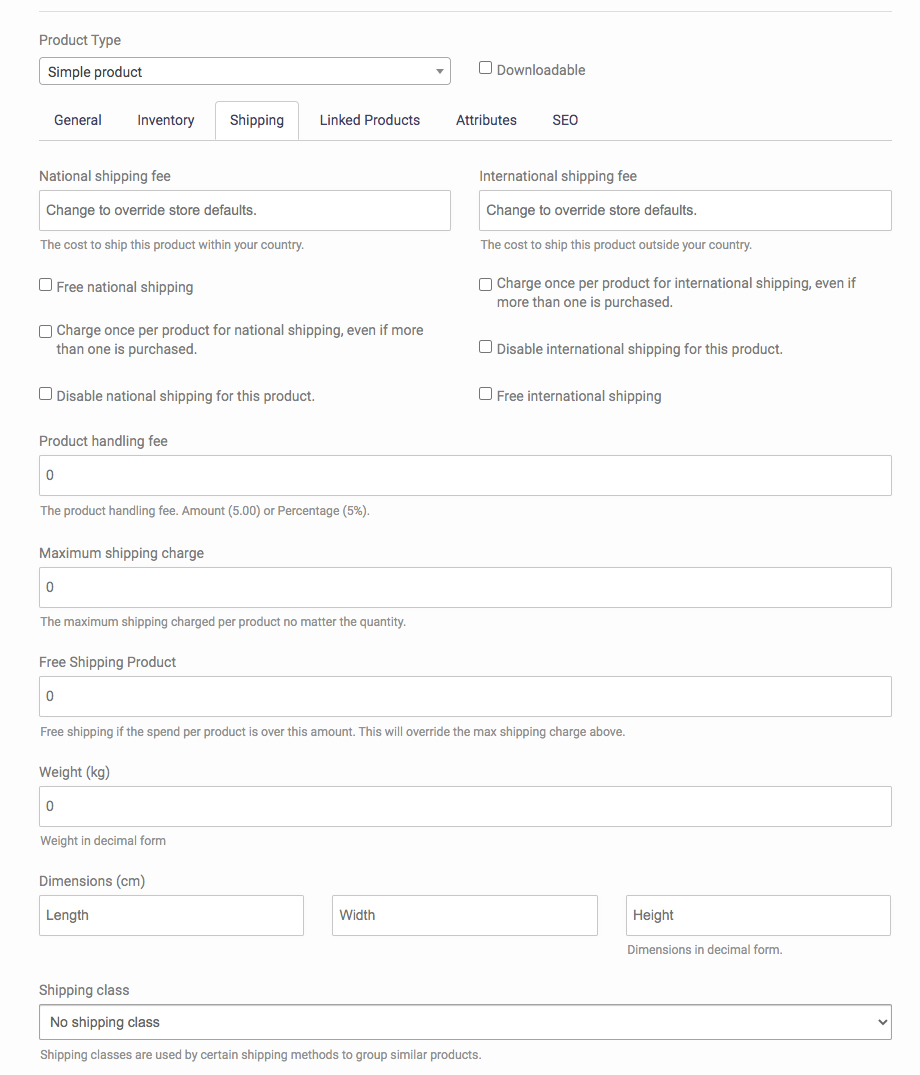
Shipping
Although you will have already set your shipping charges, you now have the option of setting an individual charge for the item that will override your standard settings.
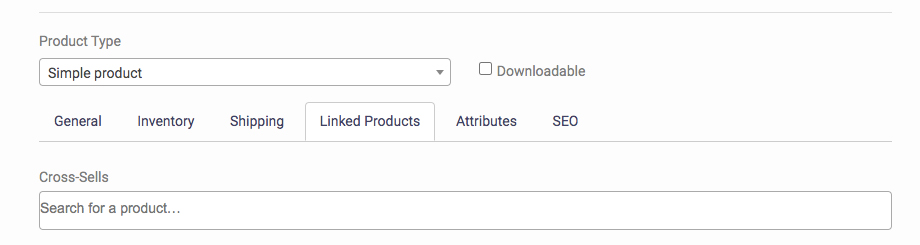
Linked Products
You can link products so when a customer clicks Add To Cart they will then be shown your linked product with a prompt that they might be interested in it (e.g. if a customer purchases an t-shirt they could be shown an album before checking out). Search for the product you'd like to be recommended to the customer in the "Cross-Sells" box as shown below.
SEO
As always, you can use keywords in the description to optimise search engine results.
For A Variable Product
Use this option if you are selling items that are available in various colours and sizes. Many of the options are the same as for Simple Products (above) but the most important difference is the setting up of Attributes and Variations so it makes sense to do these first.
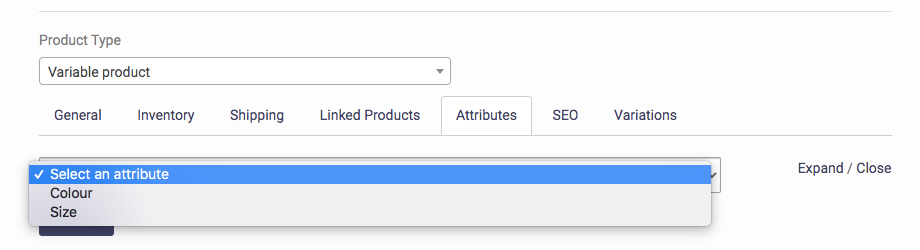
Attributes
In this section you can specify whether you have a variety of sizes, colours or both.
Click on Select An Attribute and choose from Size or Colour, depending on what variations you have to sell. When you have selected the attribute, click "Add" underneath the box
Now that you have added an attribute, you will need to define what 'terms' will be available to the customer. In this example we will be adding Sizes, so we would have selected "Size" from the drop-down list shown above and the terms we choose will be the size variations - for example, "Small", "Medium", "Large" etc.
First of all, you must tick the box that says "Used for variations" - this will allow the customer to select their size when they visit your store.

Next we are going to add the available terms. Click on the box where it says "Select terms" and choose the size options you have available. If you only have items in sizes Small and XL, it is only necessary to select those 2 terms, however if you will be getting other sizes to sell in future, you may want to select the other sizes too (as you can show those sizes as out of stock for now, keep reading for info).

If you have also have different colours for sale, you will need to repeat these steps to ensure you have both of these attributes and the associated terms listed.
Variations
The next step is to create the variations for each combination of attributes. In plain English, this will create sub-products (product variations) for every combination you have for sale. In the example above, we created a Size attribute with the terms 'Small', 'Medium' and 'Large' - this will give us 3 product variations. If we had also added a Colour attribute with the terms 'Black' and 'White', this would give us 6 product variations (3 sizes in Black plus 3 sizes in White).
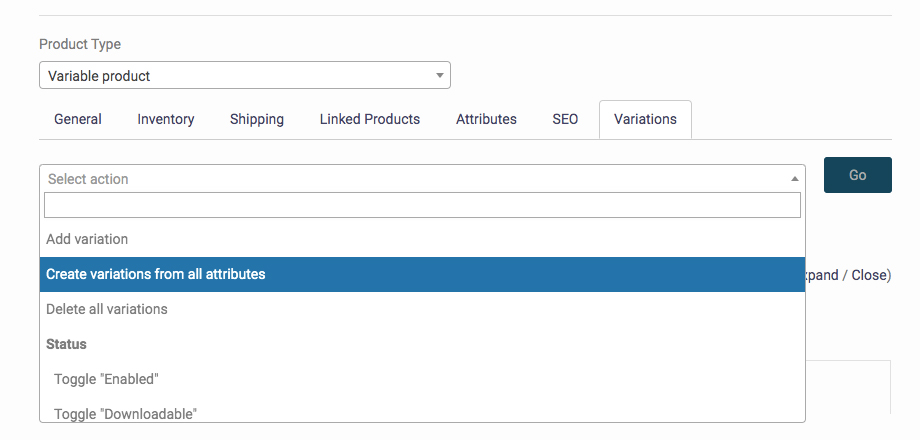
Click on the variations tab and then click on the "Select action" drop-down menu. Choose the option to "Create variations for all attributes" and click the Go button. You will get a warning message saying all combinations will be created - click OK to continue.
The 3 product variations have now been created and we can add more details to each one individually. This is where you must set the price of each product variation, but you can also choose to add different images (useful if you have chosen various colours), sale prices for some sizes/colours and of course your stock control numbers. You can also specify Defaults - the size and/or colour that will be selected by default when the customer views your product in your store.
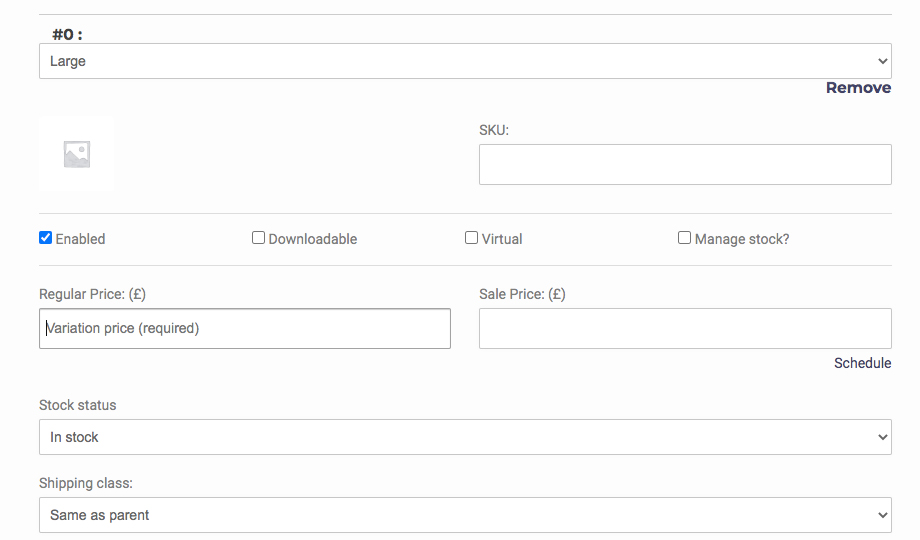
Click "Expand" to enter the details of each product variation.

You will see a placeholder image (to the left of the SKU box). Click this to add the image that matches the product variation.
You can also add a SKU - if you're not sure what this is, you can leave this blank! This is for advanced stock handlers.
You must enter a Regular price for each product variation. In most cases this will be the same for each variation, however some colours/sizes may vary in price so it is important to fill this in for every variation.
You can optionally add a Sale Price for each variation and set a schedule for the sales to start/finish by clicking the "Schedule" link under the Sale Price box.
Stock Status can show "In Stock" or "Out Of Stock". If you want to add in the quantities you have for each size colour, you must tick the box that says "Manage Stock?" which will allow you to put this info in.
Finally, you can also individually set the Shipping Class for each variation.
General
There is no information required on this screen for Variable products.
Inventory
This is where you can manage your stock if you wish.
By clicking the Mange Stock tick box the page will expand to give you the options of entering quantity of the product you currently have and at what level you think you may have to reorder.
If you don't click Manage Stock you will simply have the option to say whether the product is in stock or not.
Variations
Here you can set individual prices etc. for the different variations (sizes etc.) You MUST include a price for each variation otherwise it will not display for sale in your shop.
Click on Add Variation.
From the dropdown menu select Create Variations From All Attributes then click Go.
Under Go click Expand.
The page will expand and you can now set the SKU (Stock Keeping Unit), if required, and individual price per item/size.
If you want to charge the same price no matter the size then rather than Create Variations From All Attributes you can simply choose Set Regular Prices and a new window will open where you can enter the price (e.g. 10 = £10)
When you are happy click Save Product.